Avid Media Composer Integration
Welcome to this overview of the Avid Media Composer integration in Cantemo Portal. With the release of this application Portal is able to support the three major non-linear editors used in post-production today. This guide is intended to provide an outline of the Avid Media Composer Integration application feature-set and the fundamental workflow.
Open Avid Media Composer from the Search View
The Avid Media Composer Integration application modifies a number of Portal menus, inserting the option to open individual items or the contents of collections and the MediaBin in Media Composer. With the Cantemo Agent application installed on the client system Portal is able to make use of the AMA Link feature in Media Composer to add clips directly to any bin — no copying of media or transcoding required. In a similar fashion the Cantemo Agent can be configured to monitor a designated watch folder and automatically upload exported files into Portal.
Opening Items in Media Composer
Once the Avid Media Composer Integration application has been installed there are several ways to send media items from Portal to Avid Media Composer. Each offers a level of convenience that will suit different editors’ needs.
The Pod Menu
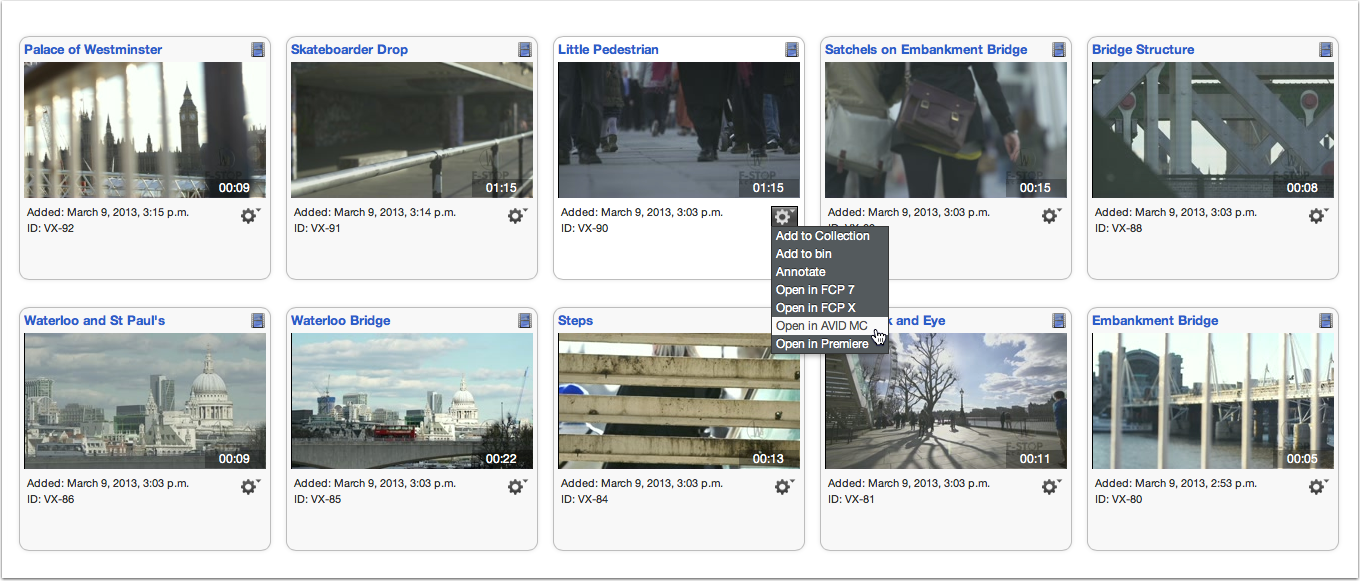
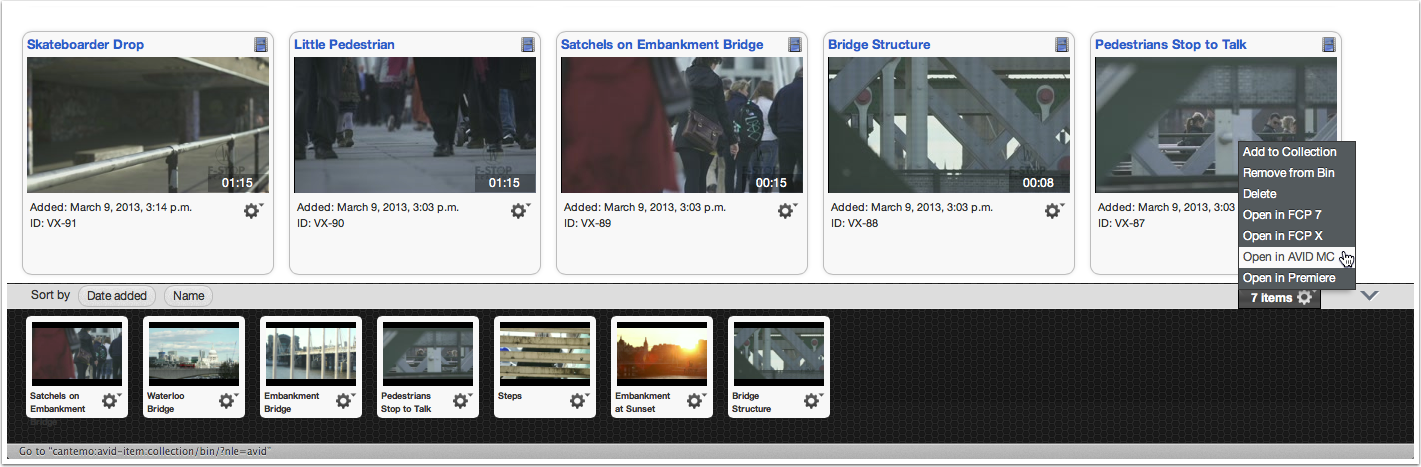
The most immediate way to send individual clips to Media Composer is to use the menu icon on a single item pod.
- Create a new search in Portal.
- Click an individual item menu and choose the Open in Avid Media Composer option.
Click an individual item menu to choose the Open in Avid Media Composer option.
The Gear Box Menu
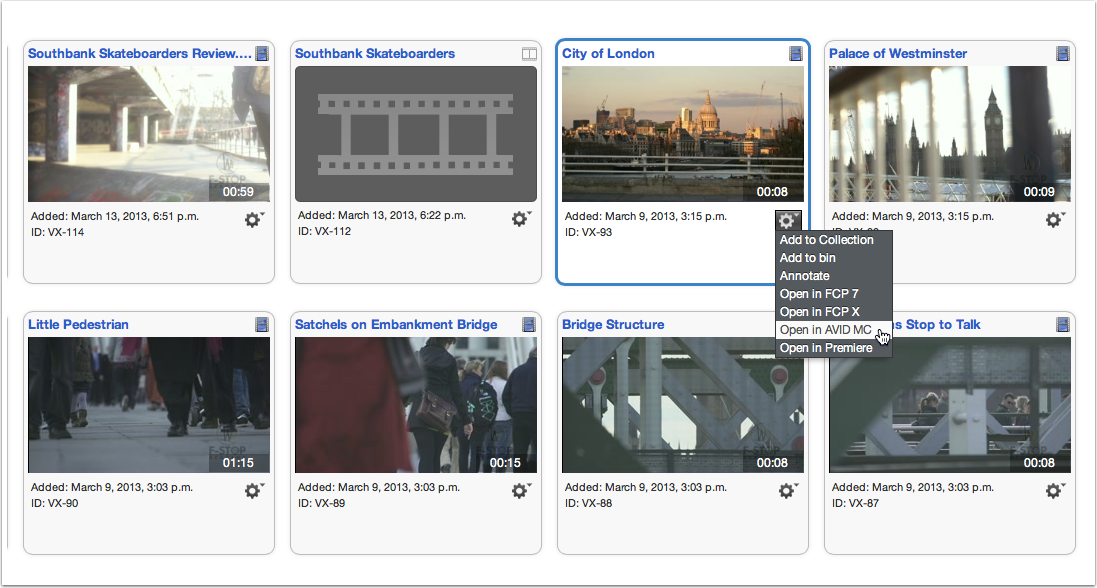
The Open in Avid Media Composer option is also available in the gear box menu on individual item pages.
- Create a new search in Portal.
- Click to select an item pod to view an individual item.
- Click the gear box menu on the individual item page and select the Open in Avid Media Composer option.
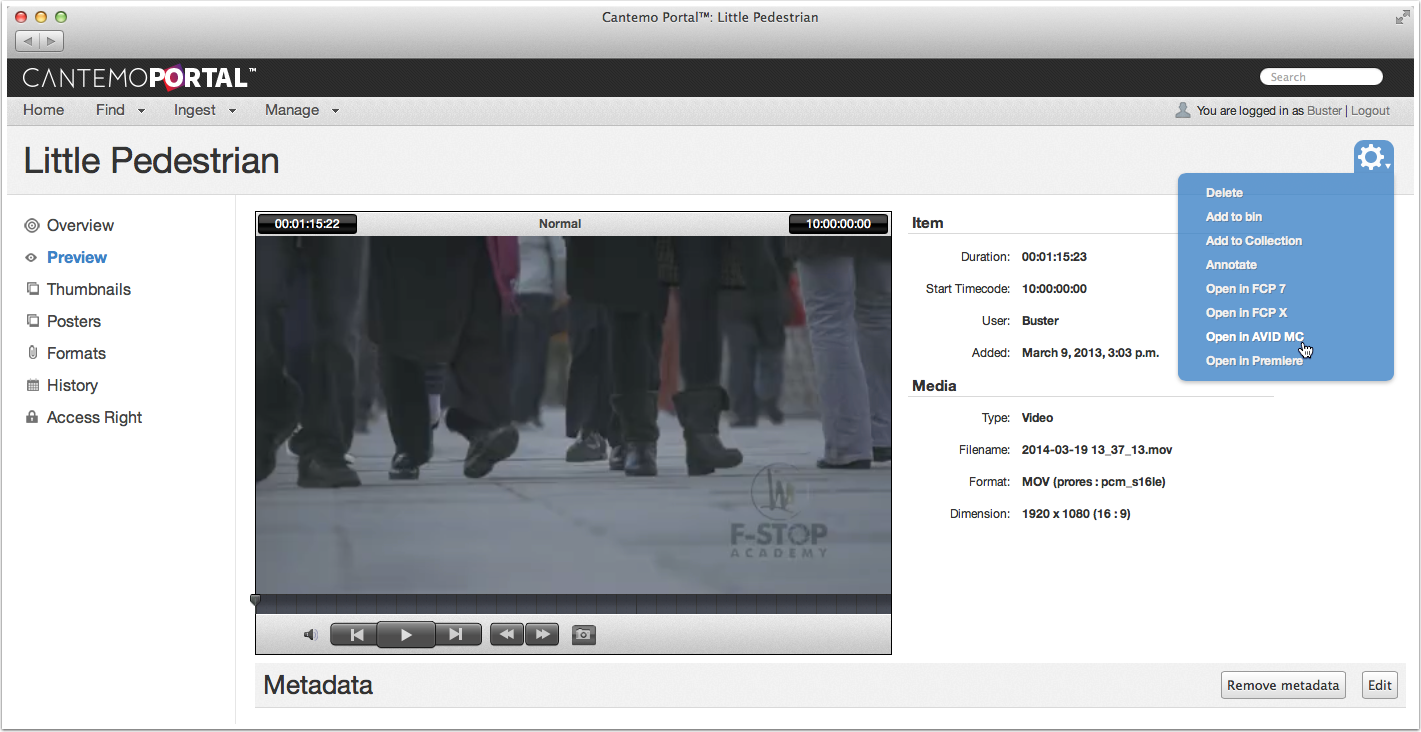
The gear box menu on the individual item page and select the Open in Avid Media Composer option.
Collections
The Avid Media Composer integration application can open an entire Collections in Media Composer.
- Choose Manage > Collections from the navigation menu.
- Click the appropriate Collection pod to view items inside the Collection.
- Select the gear box menu on the individual Collection page and choose the Open in Avid Media Composer option.
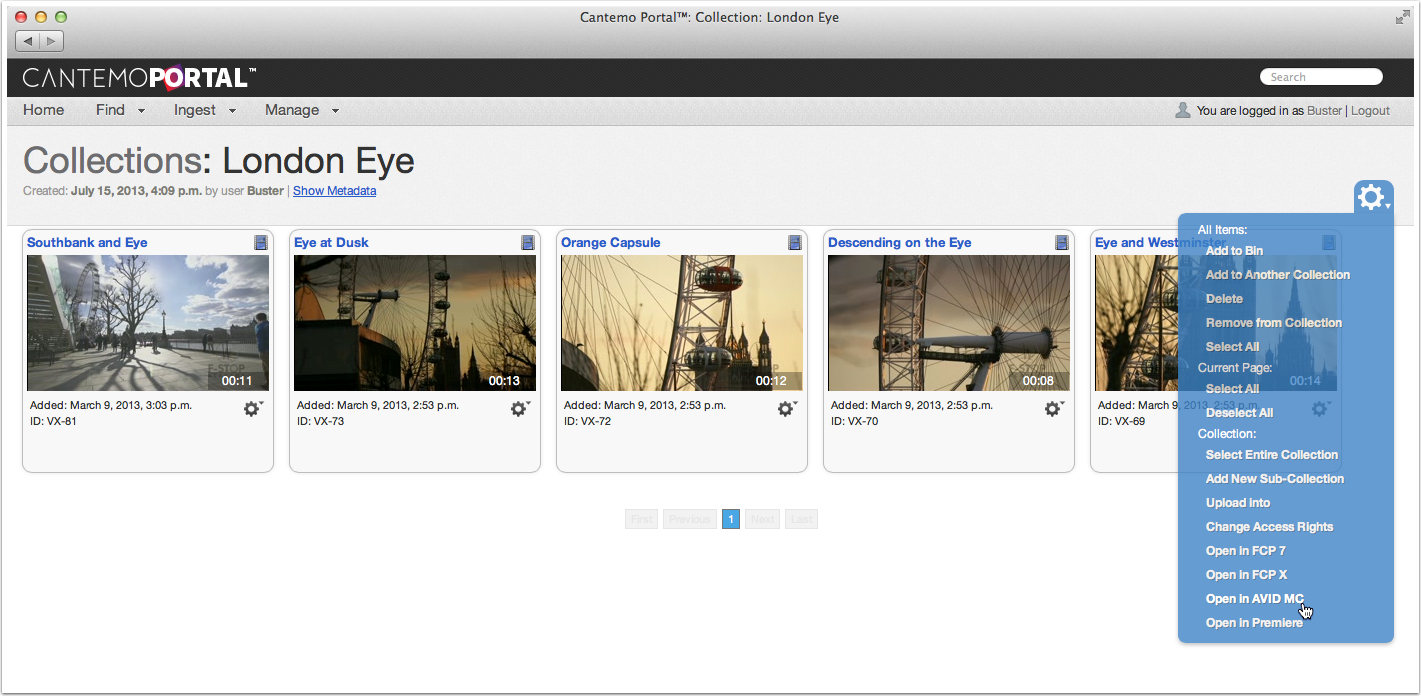
The gear box menu on the individual Collection page can be used to Open in Avid Media Composer
The MediaBin
Opening the contents of the MediaBin in Media Composer is another very straightforward process.
- Click to open the MediaBin and view the items stored inside it.
- Select the MediaBin menu and choose the Open in Avid Media Composer option.
Open items from Mediabin into Avid Media Composer
Working with AMA Link
Avid Media Access (AMA) is not a new concept for Media Composer, but there have been a couple of changes in Media Composer 7 that make it much easier to work with and Portal integration is more seamless as a result.
The integration process on the client system is handled by the lightweight Cantemo Agent application. It is used to pick up files that have been sent from Portal and manage interactions with the file system.
AMA Link Directories
When files have been sent from Portal to be opened in Media Composer, the Cantemo Agent will prompt the user to select a directory to store links to the media files.
- Choose an existing directory or click the New Folder button to create and select a new location. There is nothing special about the location, AMA Link can utilise any folder the local user has write access to. Once the appropriate folder is selected click the Open button to save the files.
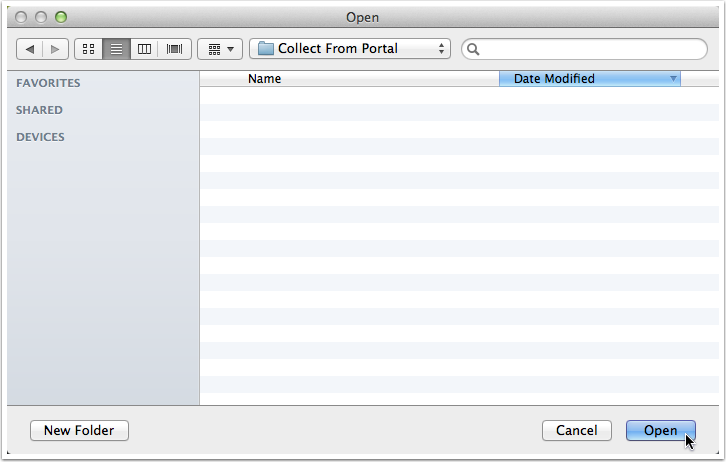
Choose location of AMA folder
- It’s important to note that AMA Link only requires alias files and the original media remains on the shared storage. This means there’s no copying of files and no transcoding required.

Cantemo Portal file links
- Switch to Media Composer.
- Choose File > AMA Link.
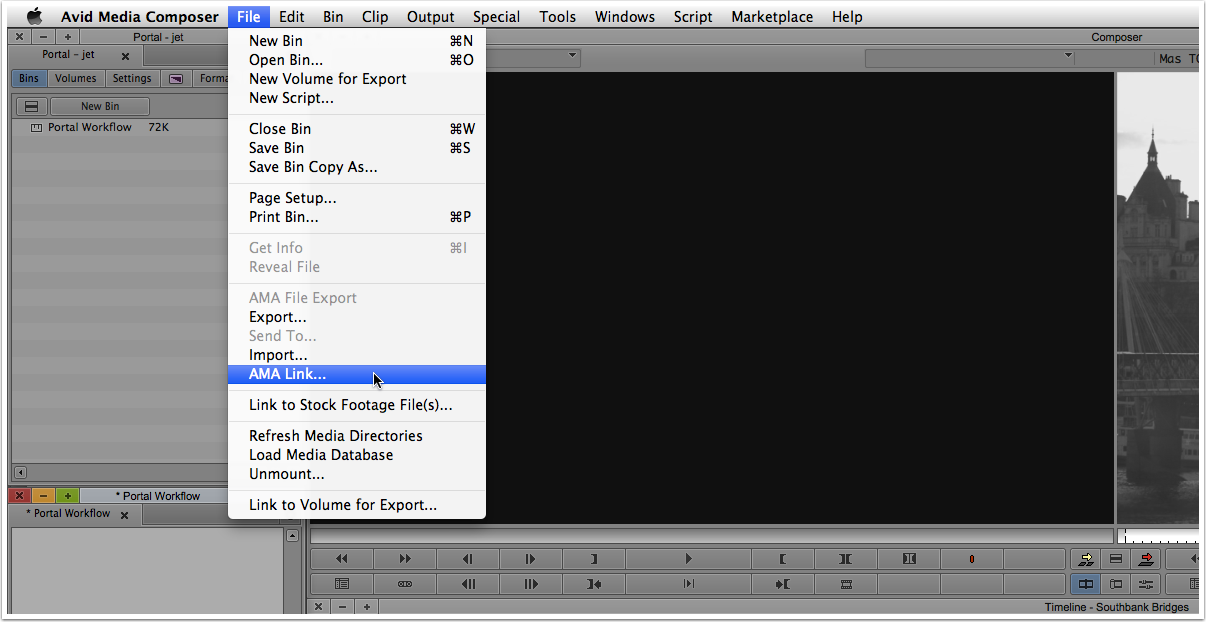
Open AMA folder in Avid
- Navigate the files system to locate the directory that contains the file aliases.
- Click the Open button to select select the folder.
- If prompted, select the appropriate Bin Selection option.
- Click the OK button
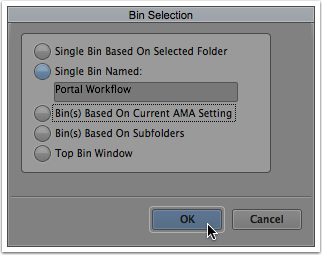
Select destination Bin
NOTE: Media Composer will only require the user to configure how media files are to be added to the project using the Bin Selection dialogue the first time AMA Link is used. Later these preferences can be modified under Settings > AMA.
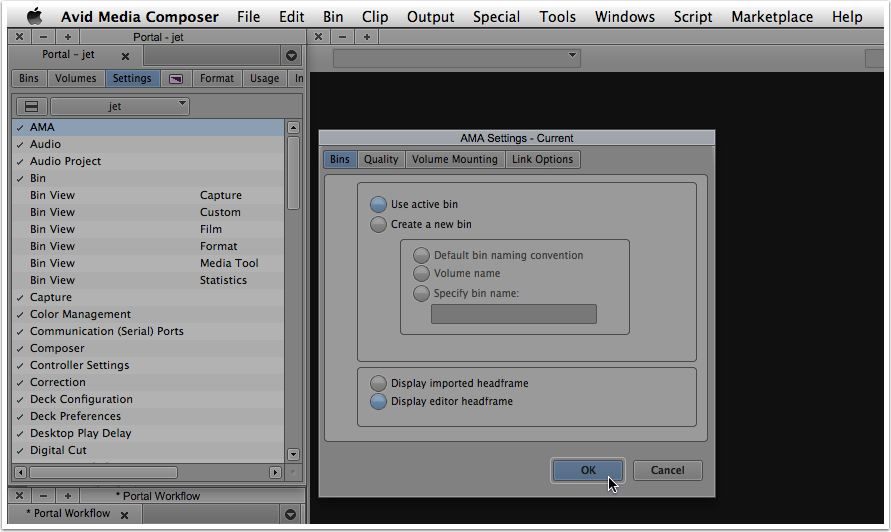
AMA Settings dialog
- The clips are automatically added in the designated bin.
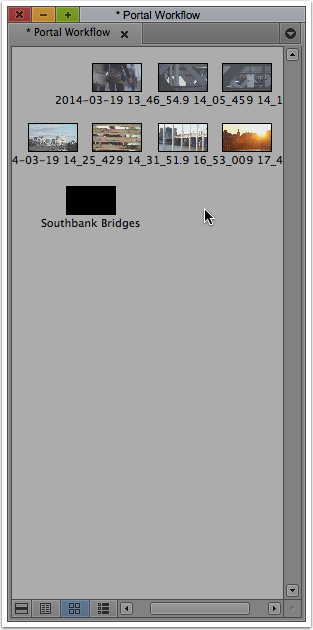
Avid Media Composer Bin
Dynamic Media Folders
Another way to work with AMA is to create a Dynamic Media Folder (DMF). While this method requires a bit more forethought and preplanning, once the DMF has been configured it offers a higher degree of automation and simplicity for the end user.
Enabling Background Services
Background Services must be enabled for DMFs to function.
- Select Tools > Background Services.
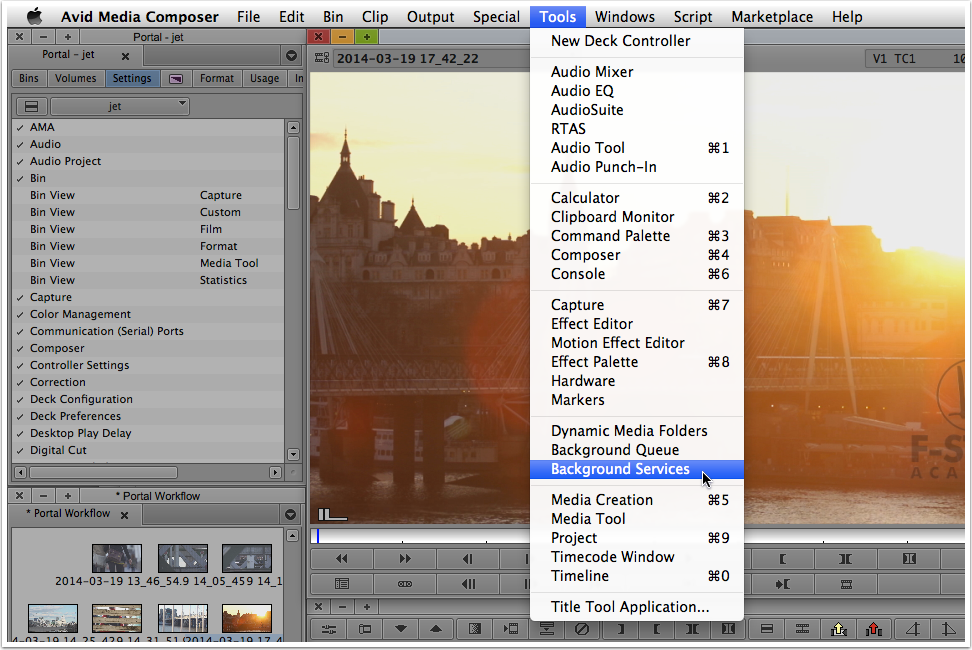
Select Backgrouond services in Avid Media Composer
- Click Start to enable to enable the designated services.
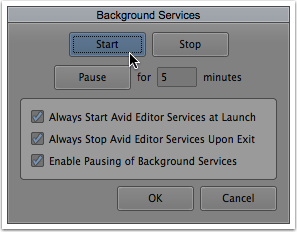
Backgrouond services in Avid Media Composer
NOTE: To ensure the user can rely on the DMF being active it’s a good idea to check the Always Start Avid Editor Services at Launch option.
- Click the OK button to close the Background Services window.
Defining a Dynamic Media Folder
Once Background Services are running it’s time to configure a Dynamic Media Folder.
- Select Tools > Dynamic Media Folders.

Select Dynamic Media Folders
- Click the Add (+) button to create a new Dynamic Media Folder.
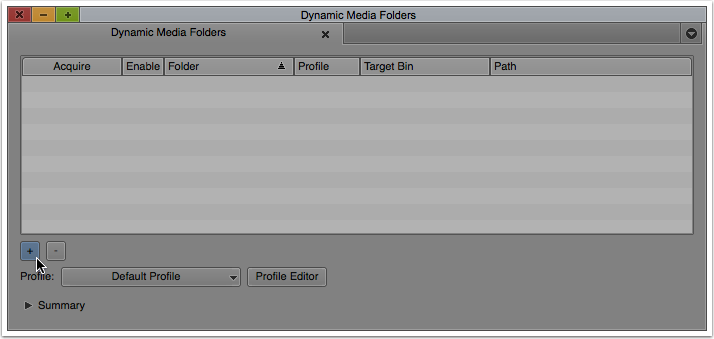
Add button in Dynamic Media Folders
- Select an appropriate directory or create a new folder as required.
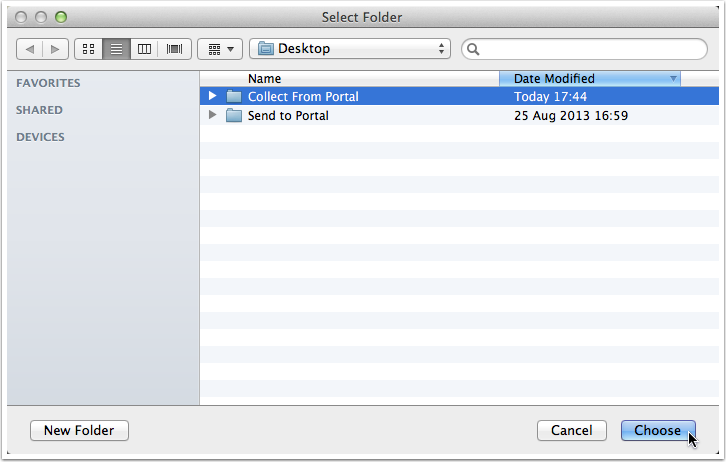
Select Dynamic Media folder for
- Click the Choose button to set the DMF.
- Click the Profile Editor button.
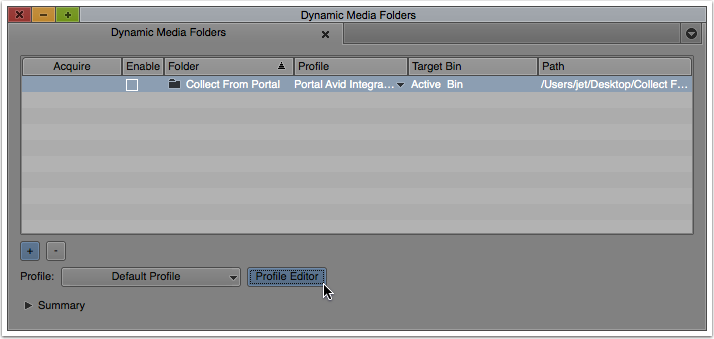
Dynamic Media Folders Profile Button
- Modify the options as required, including which bin clips should be added to.
- Click the Save button to apply any changes.
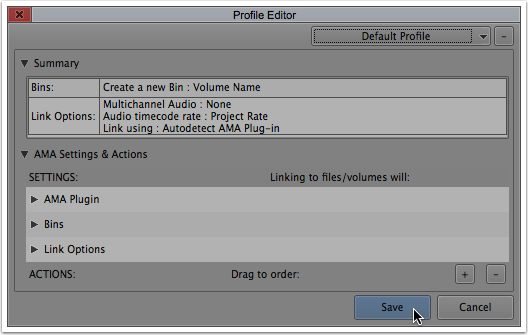
Dynamic Media Folders Profile Editor
- Name the new Profile and click the OK button.
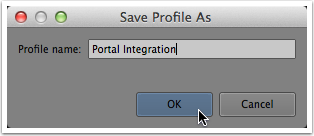
Save profile As
- Click the Profile dropdown and choose the appropriate Profile from the list.
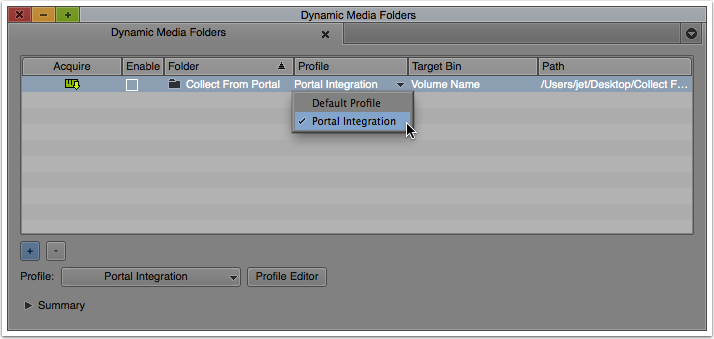
Select Profile
- Click to select the Enable checkbox for each DMF as required.
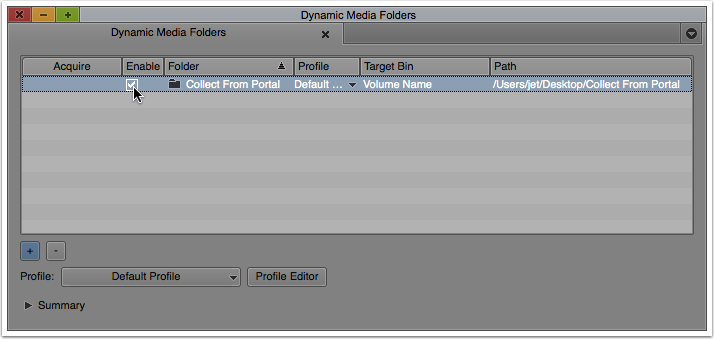
Enable DMF
- Click the red close icon to close the Dynamic Media Workflows window.
Acquiring Clips with DMFs
With Background Processes active and a DMF defined, the user will be notified whenever there is an external change to one of the Dynamic Media Folders. The Show Dynamic Media Folders button displays a solid green dot whenever fresh updates are available.
DMF Background Processes Progress
When new media is available the process adding clips to the project is entirely straightforward.
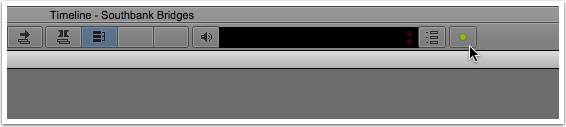
- Click the Show Dynamic Media Folders button in the Timeline window.
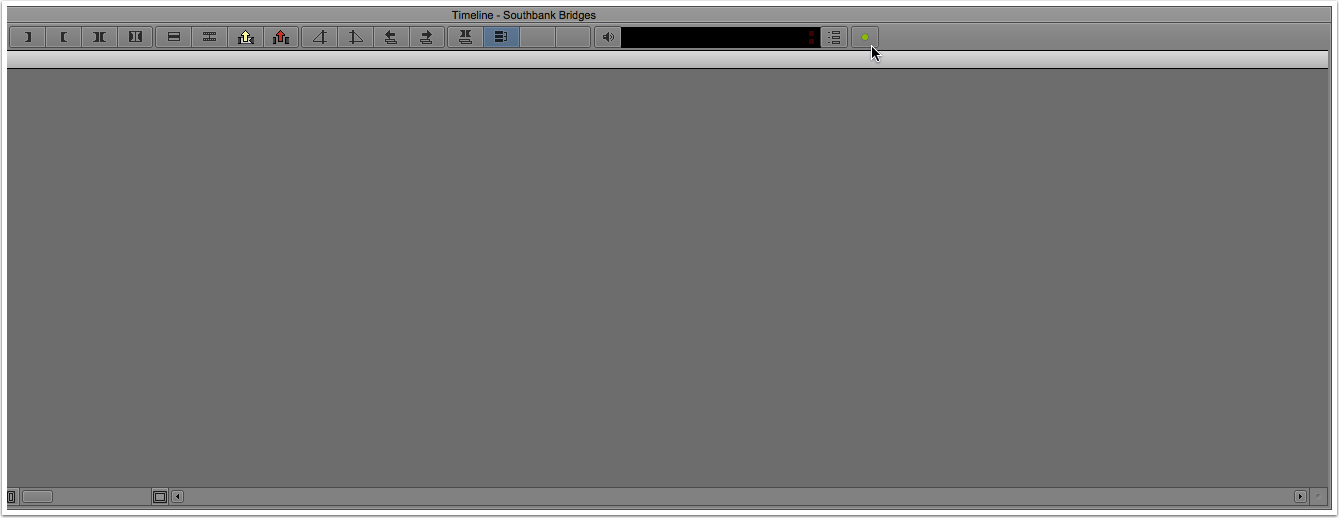
DMF Background Processes Progress
- Click the green icon under the Acquire column to automatically import any new clips to the designated bin.
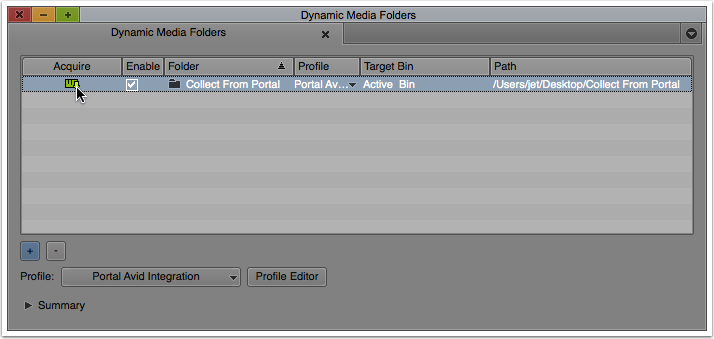
DMF Acquire Media
- Click the red close icon to close the Dynamic Media Workflows window.

DMF No Process running
4. The green dot on the Show Dynamic Media Folders button changes to a static green circle when all background process have been completed and no further updates are required.
Exporting Media to Portal
As with opening files from Portal the process of sending new media files to Portal also involves the Cantemo Agent. The Agent can be configured to monitor a designated directory. When new files are added to the watched folder the application picks them up and the user has opportunity to add metadata before completing the upload to Portal.
Creating a Watch Folder
The first task is to create a watch folder for the Cantemo Agent to monitor.
- Open the Cantemo Agent Preferences.
- Click the Watch folder button.
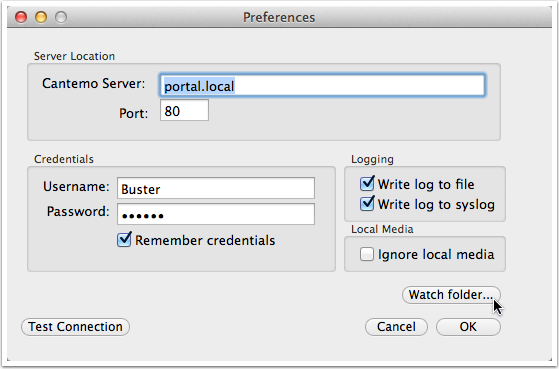
Cantemo Agent Preferences
- Select an existing directory or click the New Folder button to create and choose a new directory to use as a watch folder.
- Click the Open button to apply the change and start the monitoring process.
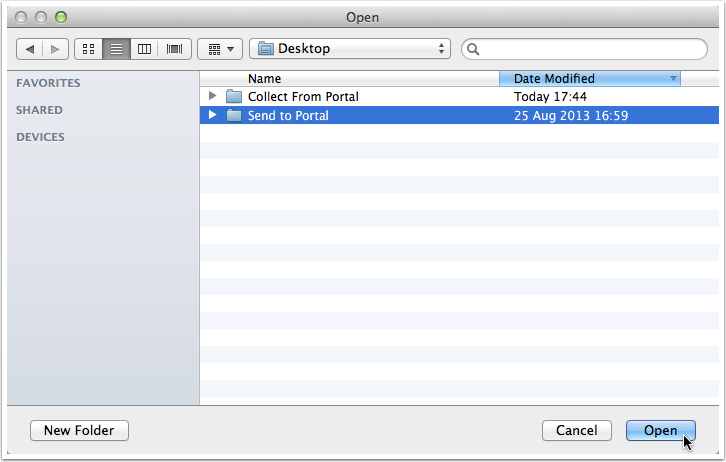
Select watchfolder for Cantemo Agent
- Click OK to close the Cantemo Agent Preferences window.
Exporting to Portal
With the watch folder defined and operational it’s time to export a file from Media Composer.
- Ensure that the Timeline is the active window and choose File > Export.
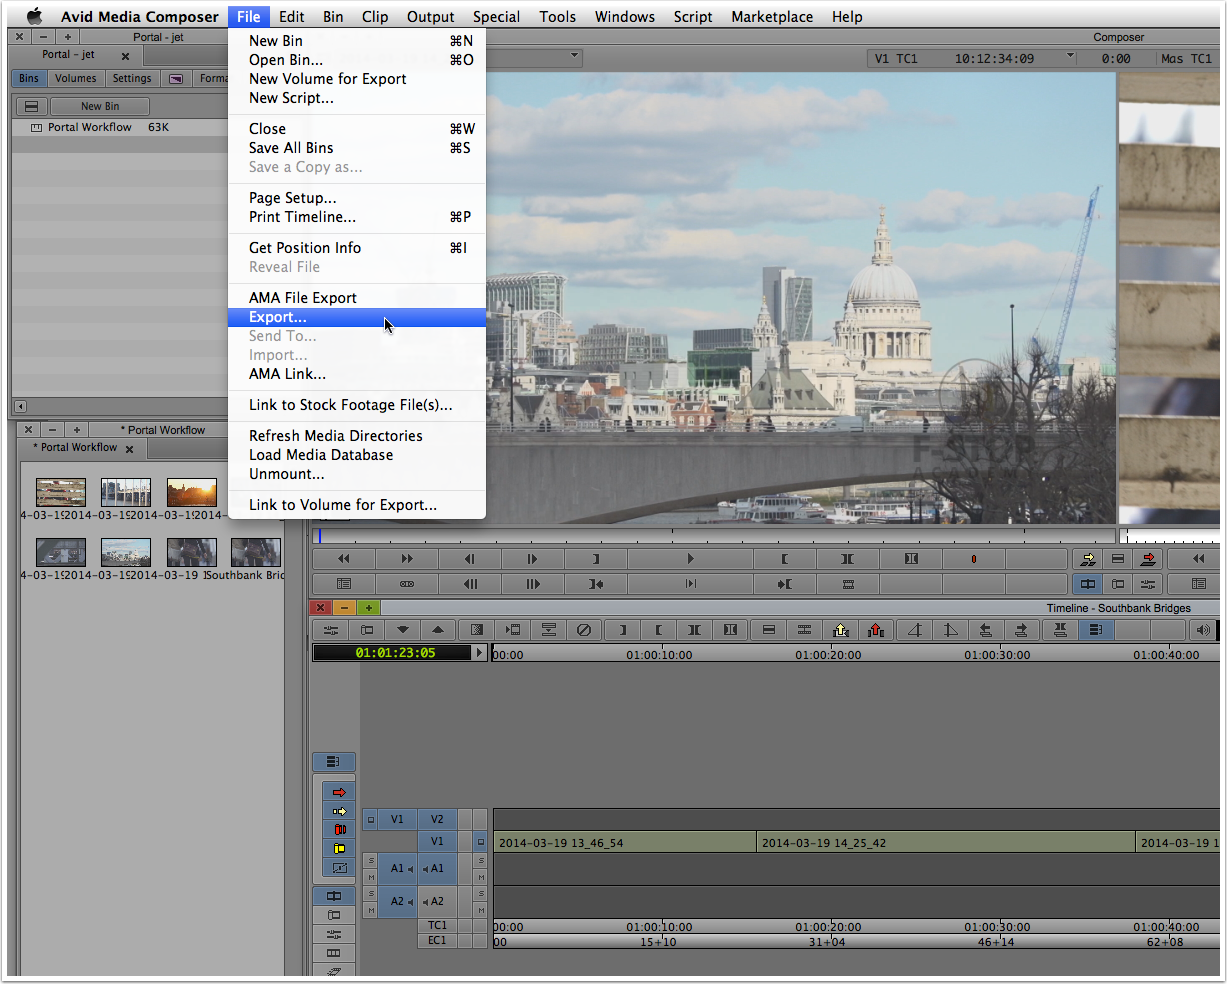
Avid Media Composer Export
- Choose an appropriate option from Export setting dropdown menu. If necessary, click the Options button to create a new custom setting.
3. Choose the designated watch folder and click the Save button. The
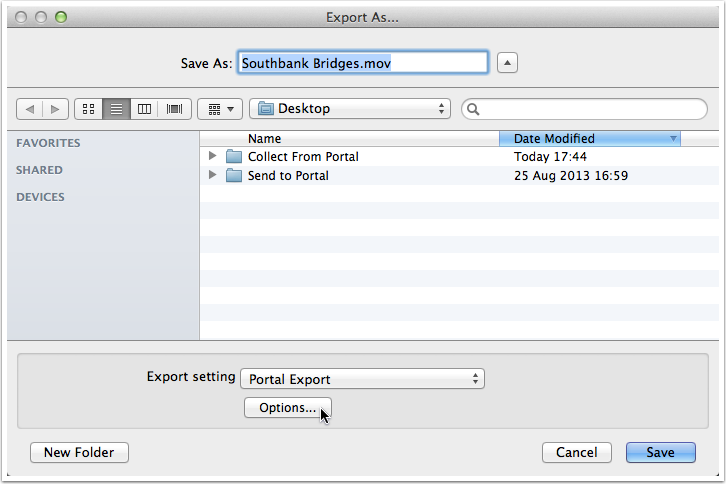
Avid Media Composer Export Options

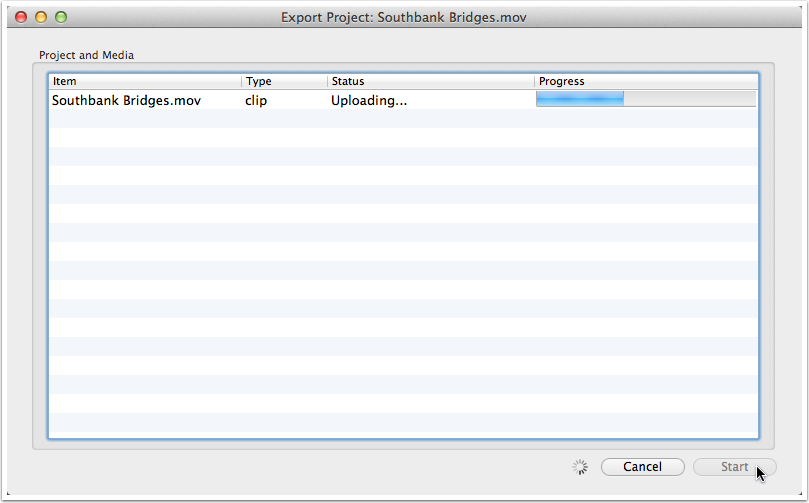
The Media Composer Export dialogue displays the progress of the export.
The export does not have to be complete for the Cantemo Agent to recognise the incoming file.
- Click the Add button in the Cantemo Agent to enter metadata.
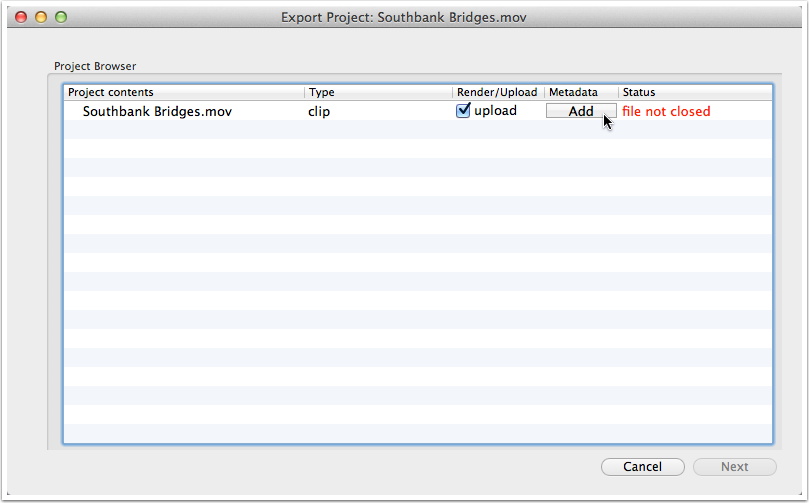
Note the “file not closed” status. This process can be started while the file continues to export from Media Composer.
- Complete the metadata form as required and click the OK button to apply any changes.

Add metadata in Cantemo Agent
Note that the metadata fields displayed are dependent on the permissions of the Portal user entered in the Cantemo Agent Preferences.
- Click the Next button when the file is ready to be uploaded.
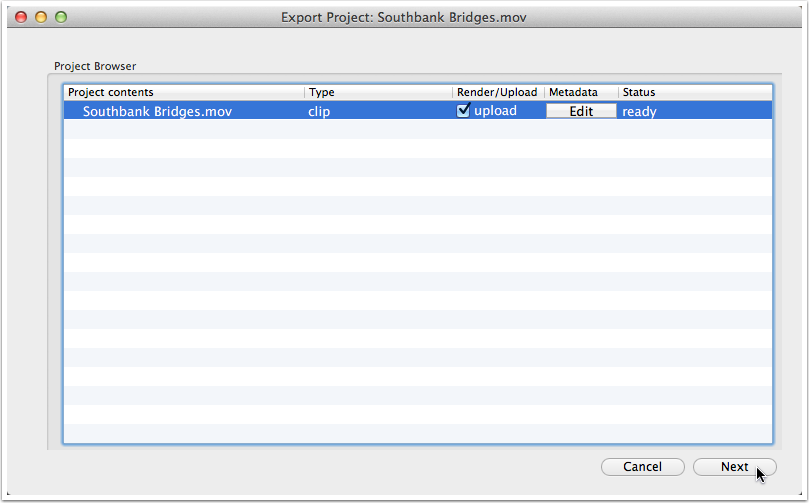
Cantemo Agent Done
- Click the Start button to upload the file.
Cantemo Agent Upload Process
- When the process is complete, click the Done button to close the Cantemo Agent window.
- Refresh the search in Portal to view the new asset.
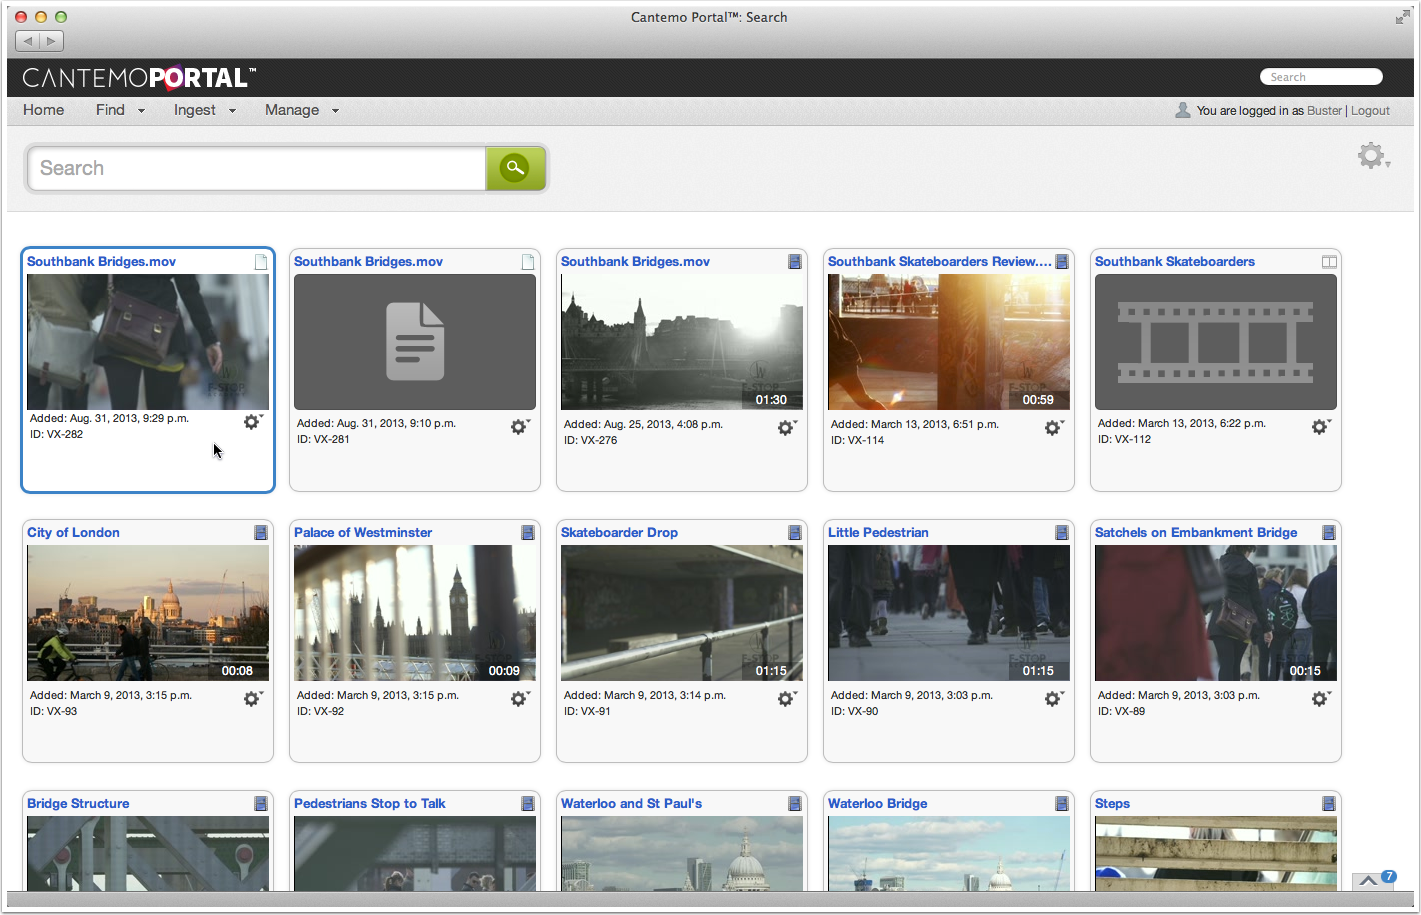
New item in Cantemo Portal rendered in Avid Media Composer